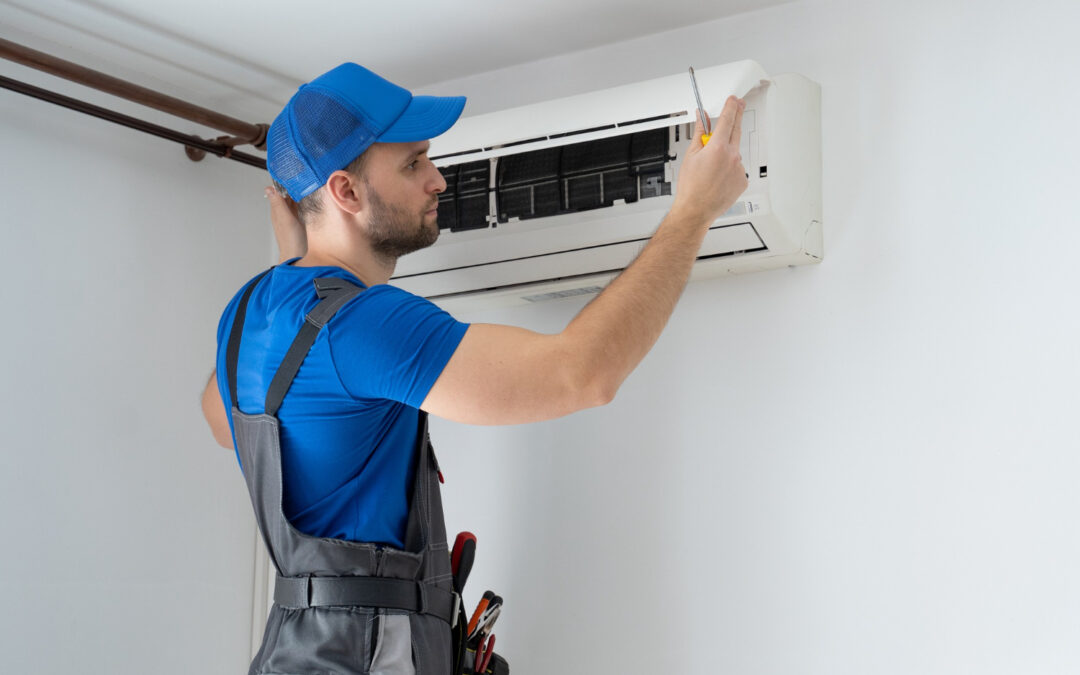
Installing a mini split system requires careful planning and execution to ensure optimal performance and efficiency. Our professionals take several important steps during the installation process. Each step ensures that the system operates effectively and provides comfort to your home.
Site Assessment and Planning
Site assessment and planning are crucial steps in the mini split installation process. Our professionals begin by evaluating your home or business to understand the specific requirements and challenges of the space. This includes examining the layout, insulation, and existing electrical systems. By conducting a thorough assessment, we can determine the best locations for both indoor and outdoor units.
Our technicians consider multiple factors during the site assessment. These include the square footage of the area needing climate control, the number of rooms, and any structural obstacles. Proper placement of the indoor unit maximizes airflow and ensures even temperature distribution. Similarly, the outdoor unit needs to be positioned in a location that allows for efficient operation and easy access for future maintenance and repairs.
Planning is equally important in this phase. Our professionals create a detailed installation plan that outlines the steps needed to complete the job efficiently and correctly. This plan includes selecting the best routes for refrigerant lines, electrical wiring, and drainage systems. Comprehensive planning helps avoid unexpected issues during installation and ensures a smooth process from start to finish.
Selecting the Right Equipment
Choosing the right equipment is another vital component of a successful mini split installation. Our technicians assist in selecting a mini split system that meets your specific heating and cooling needs. The choice of equipment will depend on factors like the size of the area to be climate-controlled and your desired energy efficiency levels.
There are various types of mini split systems available, each offering different features and capabilities. Our professionals help you understand the options, including single-zone and multi-zone systems. Single-zone systems are ideal for controlling the temperature in one specific area, while multi-zone systems can handle multiple rooms or zones, providing greater flexibility and control.
In addition to selecting the right type of system, our technicians consider the unit’s capacity, measured in BTUs (British Thermal Units). The capacity must match the size and requirements of the space for optimal performance. An undersized unit may struggle to reach the desired temperature, while an oversized unit could cycle on and off too frequently, causing inefficiency and wear.
By carefully considering all these factors, we help you choose the best mini split system for your needs. This selection process ensures that your new system will provide reliable and efficient heating and cooling for years to come.
Installation of Indoor and Outdoor Units
The actual installation process of mini split systems involves several important steps to ensure everything works correctly. Our professionals start with the installation of the indoor unit. This involves securely mounting the indoor unit on a wall bracket or other stable surface. Placement is critical for optimal airflow and temperature control in the room.
Next, our technicians install the outdoor unit. The outdoor unit requires proper positioning to allow for adequate ventilation and minimal noise disruption. It is typically placed on a stable surface like a concrete pad or mounted on an exterior wall using brackets. The outdoor unit needs to be easily accessible for future maintenance and potential repairs.
After both units are mounted, our professionals connect the refrigerant lines, electrical wiring, and drainage pipes. These components link the indoor and outdoor units, enabling efficient transfer of cool or warm air. Our technicians ensure these connections are secure and insulated properly to prevent energy loss and leaks.
Final Inspection and System Testing
Once the installation of the units is complete, the final step involves a thorough inspection and system testing. First, our technicians check all connections to ensure they are secure and correctly installed. This includes verifying that the refrigerant lines are tight, the electrical wiring is connected properly, and the drainage system is functioning.
Next, we power on the mini split system and perform a series of tests to confirm everything is operating as it should. Our professionals measure the system’s output to ensure it meets the manufacturer’s specifications. They also check for any unusual noises or vibrations that might indicate an issue.
Additionally, our technicians test the control settings to verify the system responds correctly to temperature adjustments. We make sure that the mini split can effectively heat and cool the designated areas. If any issues are detected during these tests, our technicians address them immediately to ensure optimal performance.
Conclusion
Installing a mini split system involves several crucial steps, from site assessment and planning to the final inspection and testing. Each step ensures your system operates efficiently and provides reliable climate control for your home or business. Regular maintenance, like checking for necessary heating repairs and performing routine inspections, helps keep your system running smoothly and prevents unexpected breakdowns.
If you are considering a mini split installation in Centerville or need heating repair or furnace repair services, trust the expertise of Frog Heating and Air Conditioning, LLC. Our professionals are committed to delivering high-quality service and ensuring your comfort. Contact us today to schedule an appointment or learn more about our services.

